
What I needed to start drawing Bob Ross’s wet-on-wet technique
You might seeing video where Bob Ross creates whole painting like such in 30 minutes.
I got impressed and decided to try this technique. Bob Ross’s “everyone can create such painting” was appealing. I’m gonna share below my experience of starting painting in wet-on-wet technique.
- Shopping and caveats
- Theory
- Learnings
Shopping
Paint set.
To pain wet-on-wet you should use special brushes. Bob’s brushed look like ordinary brush for painting walls. But in fact that brush has special type of bristles. So to succeed you need to buy brush of special type. There are different sets which contain brushes as well as paint. I went with master set (4 brushes, palette knife, paints, liquid white).
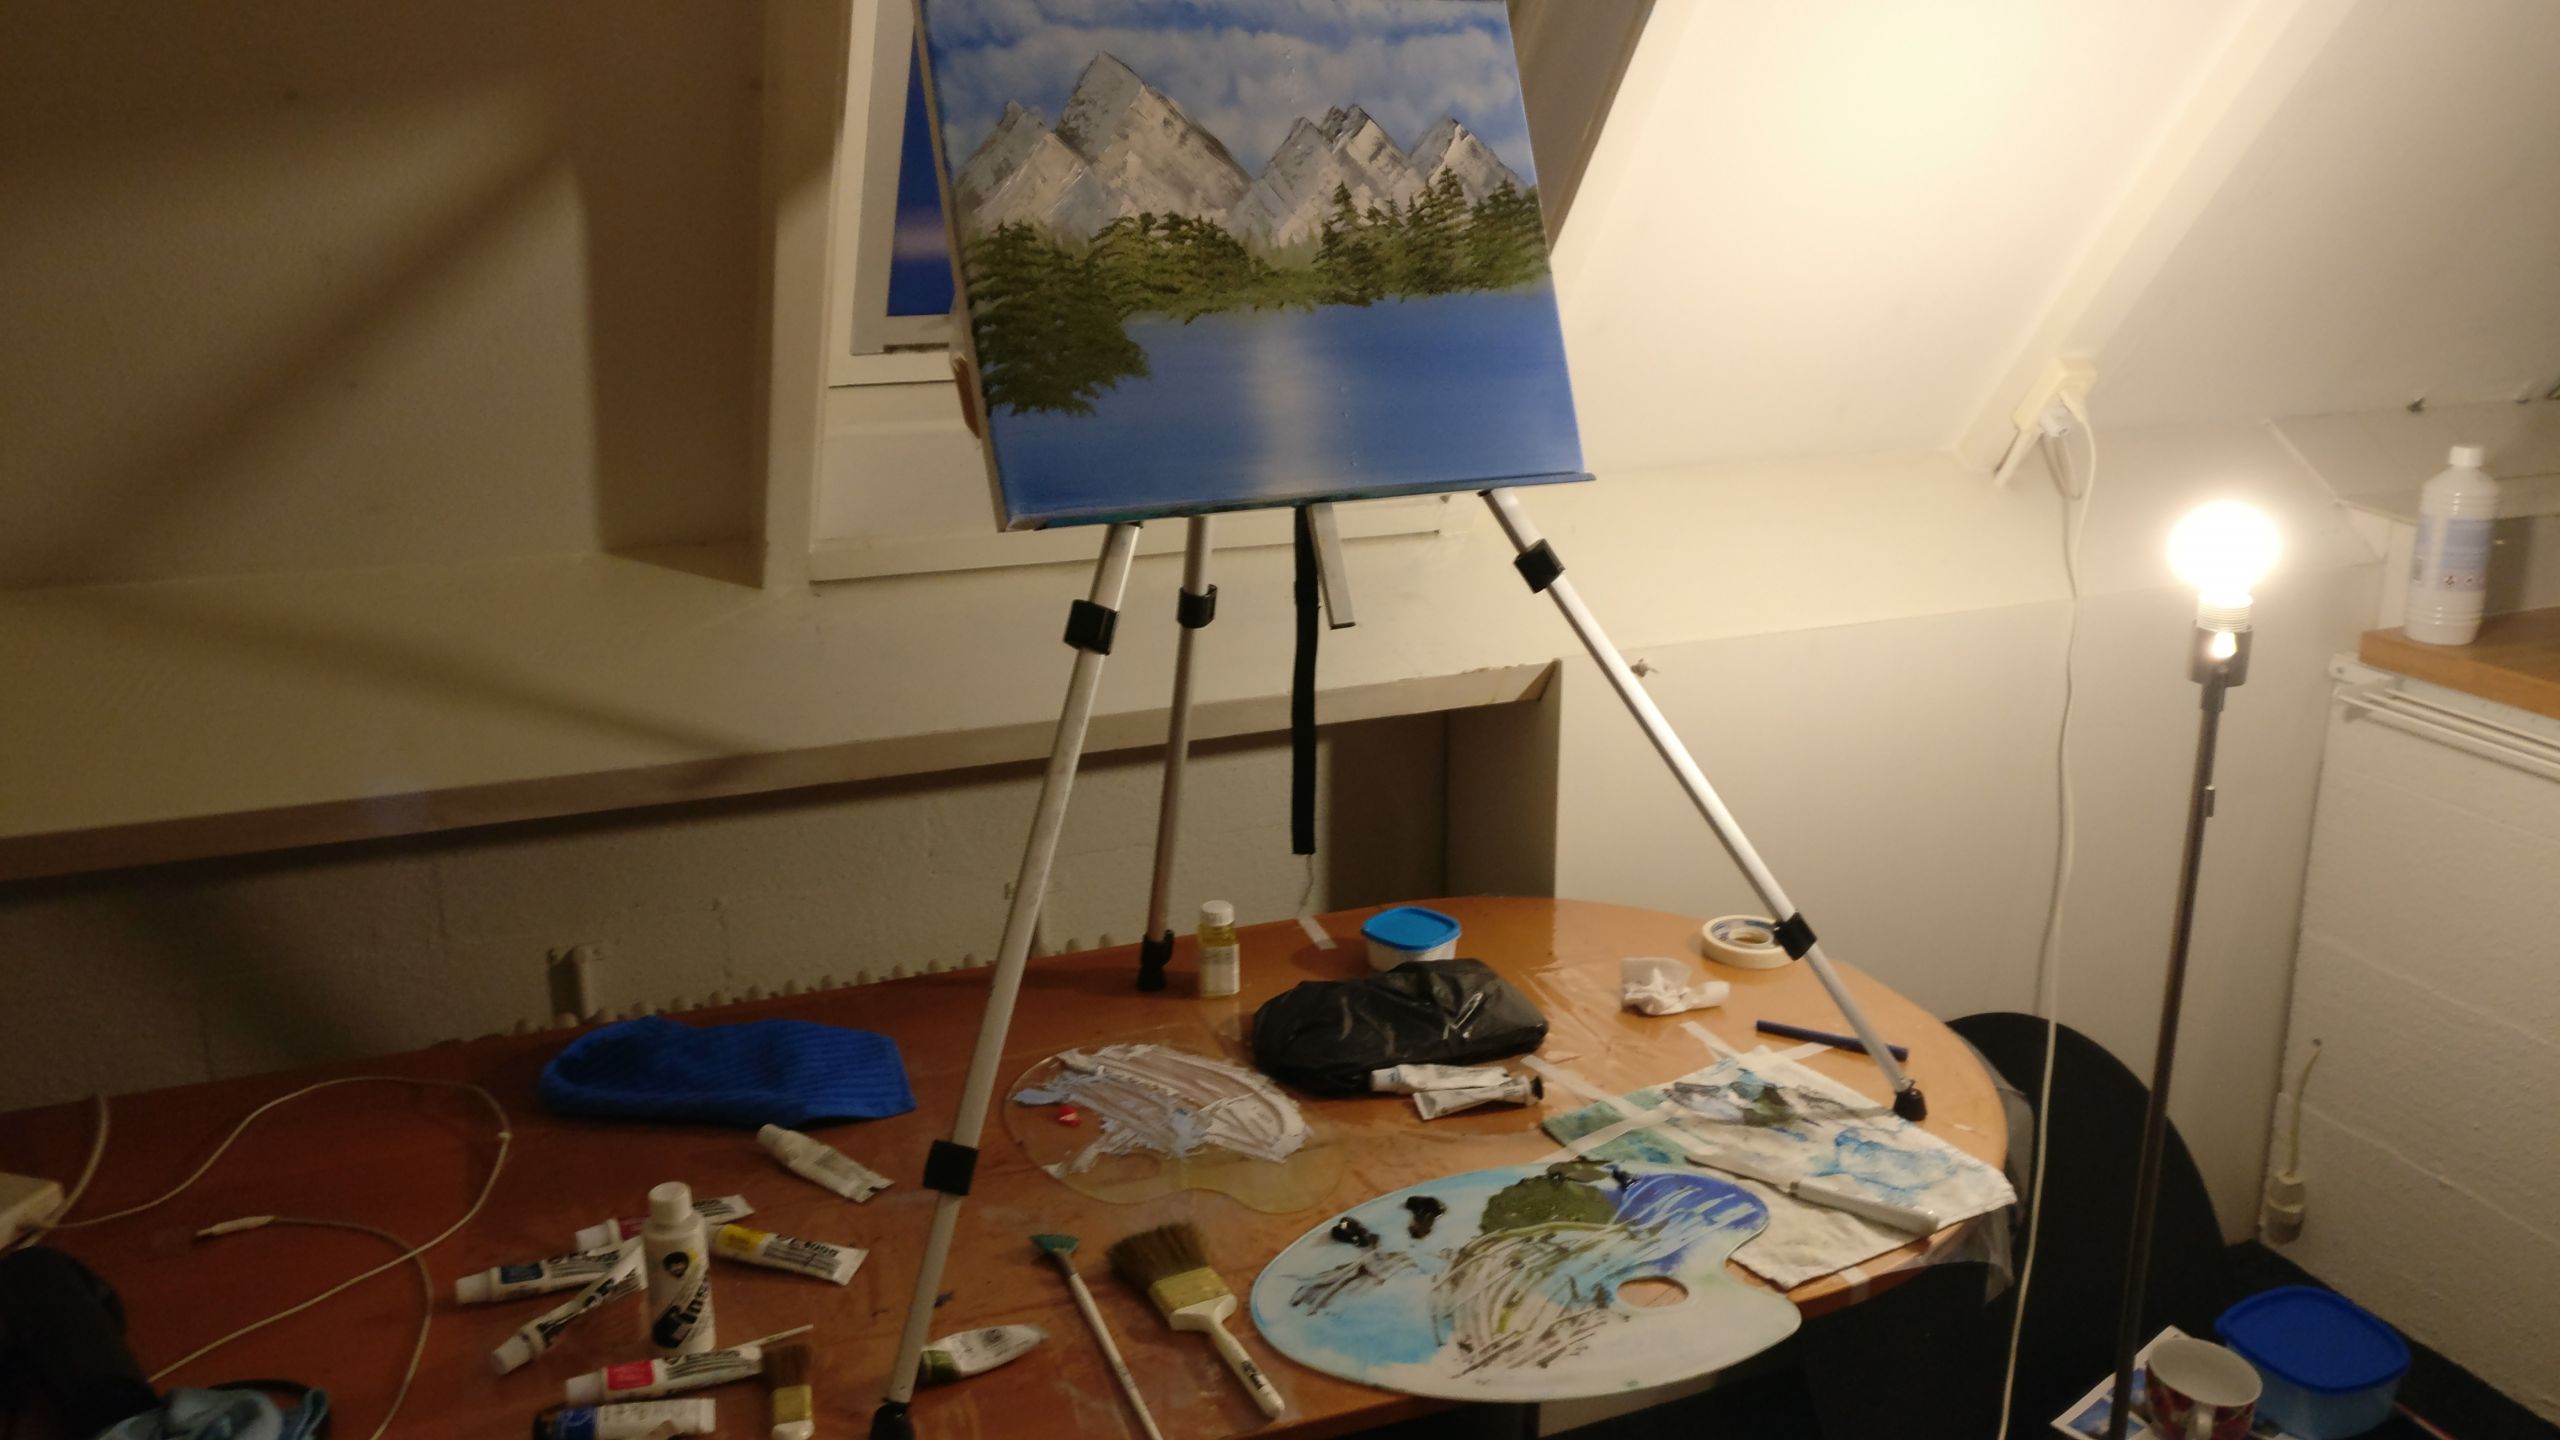
Easel.
Next you need an easel. I recommend to take one to use atop of a table. Also make sure that construction is steady enough because painting technique requires to push canvas firmly from time to time. The one I bought isn’t steady enough. I have to hold it with another hand from time to time.
Mine looks like
Canvas.
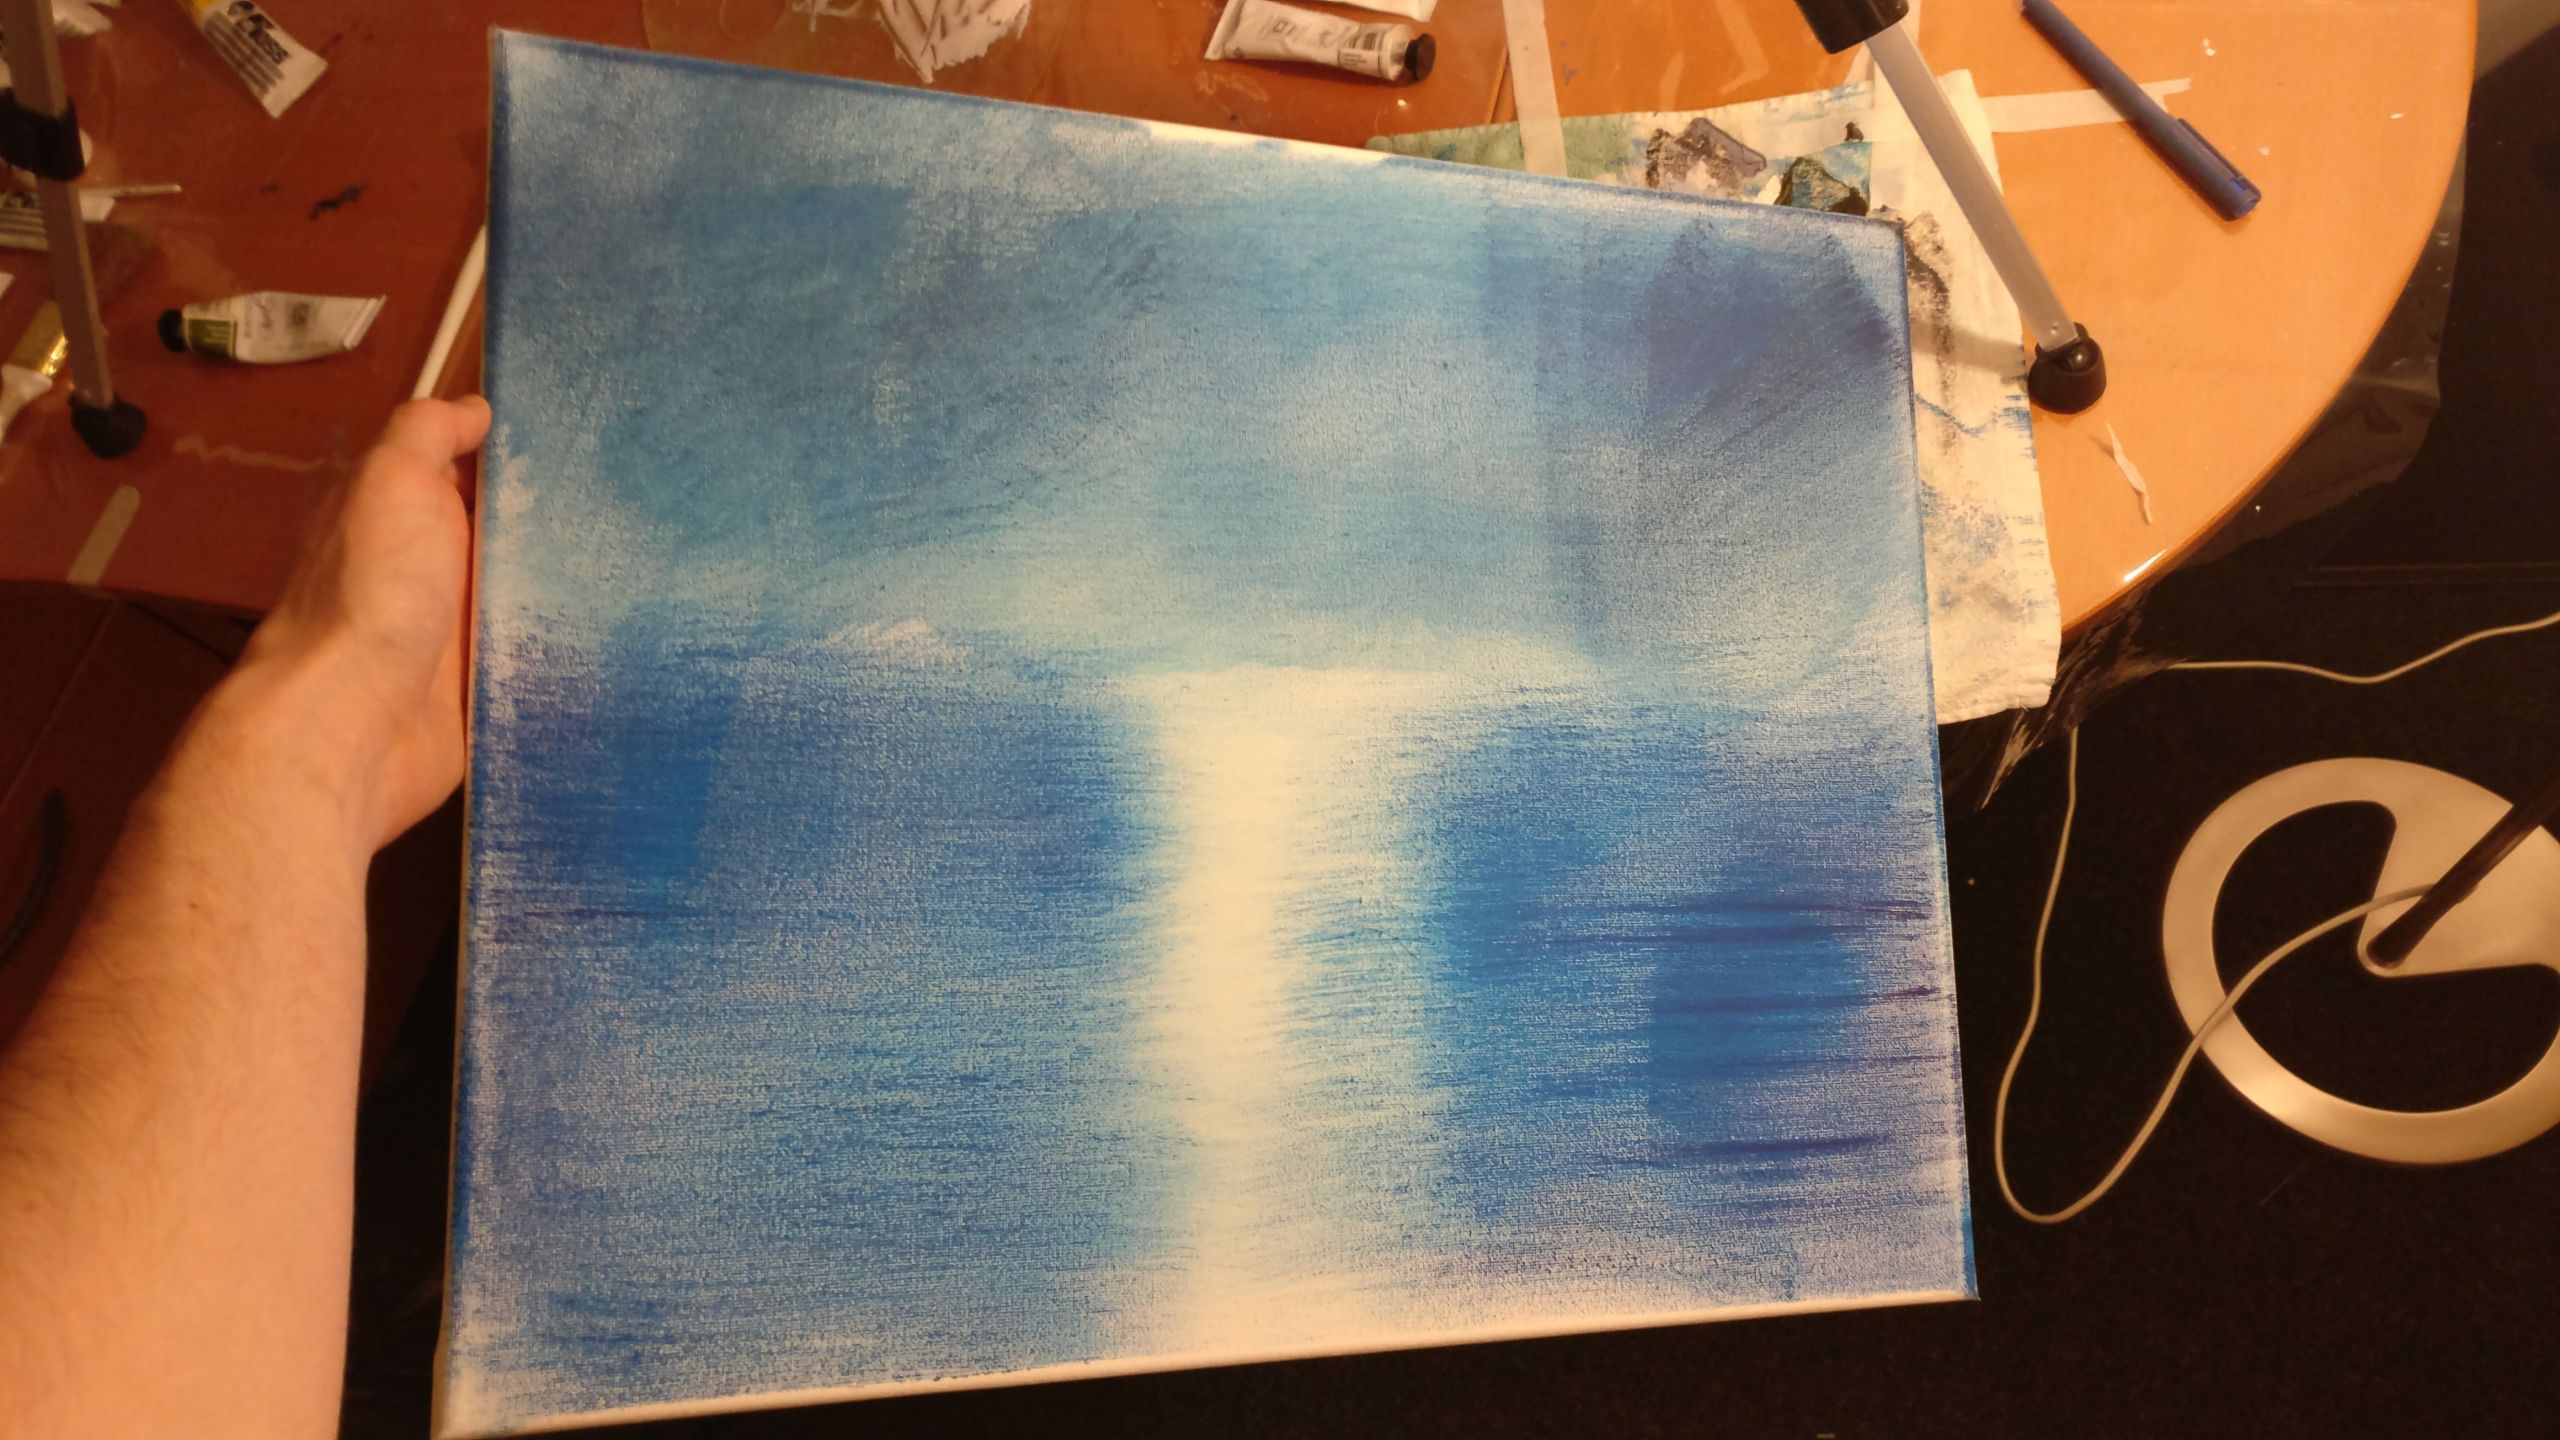
You’re interested in double primed pre-stretched canvas. I use 30x40 cm. There is no point in using smaller canvas because it’s hard to use brush on it. I tries 3 types of canvases from different vendors. Some absorb liquid white very fast so blending attempts fail miserably.
See failed sky and water
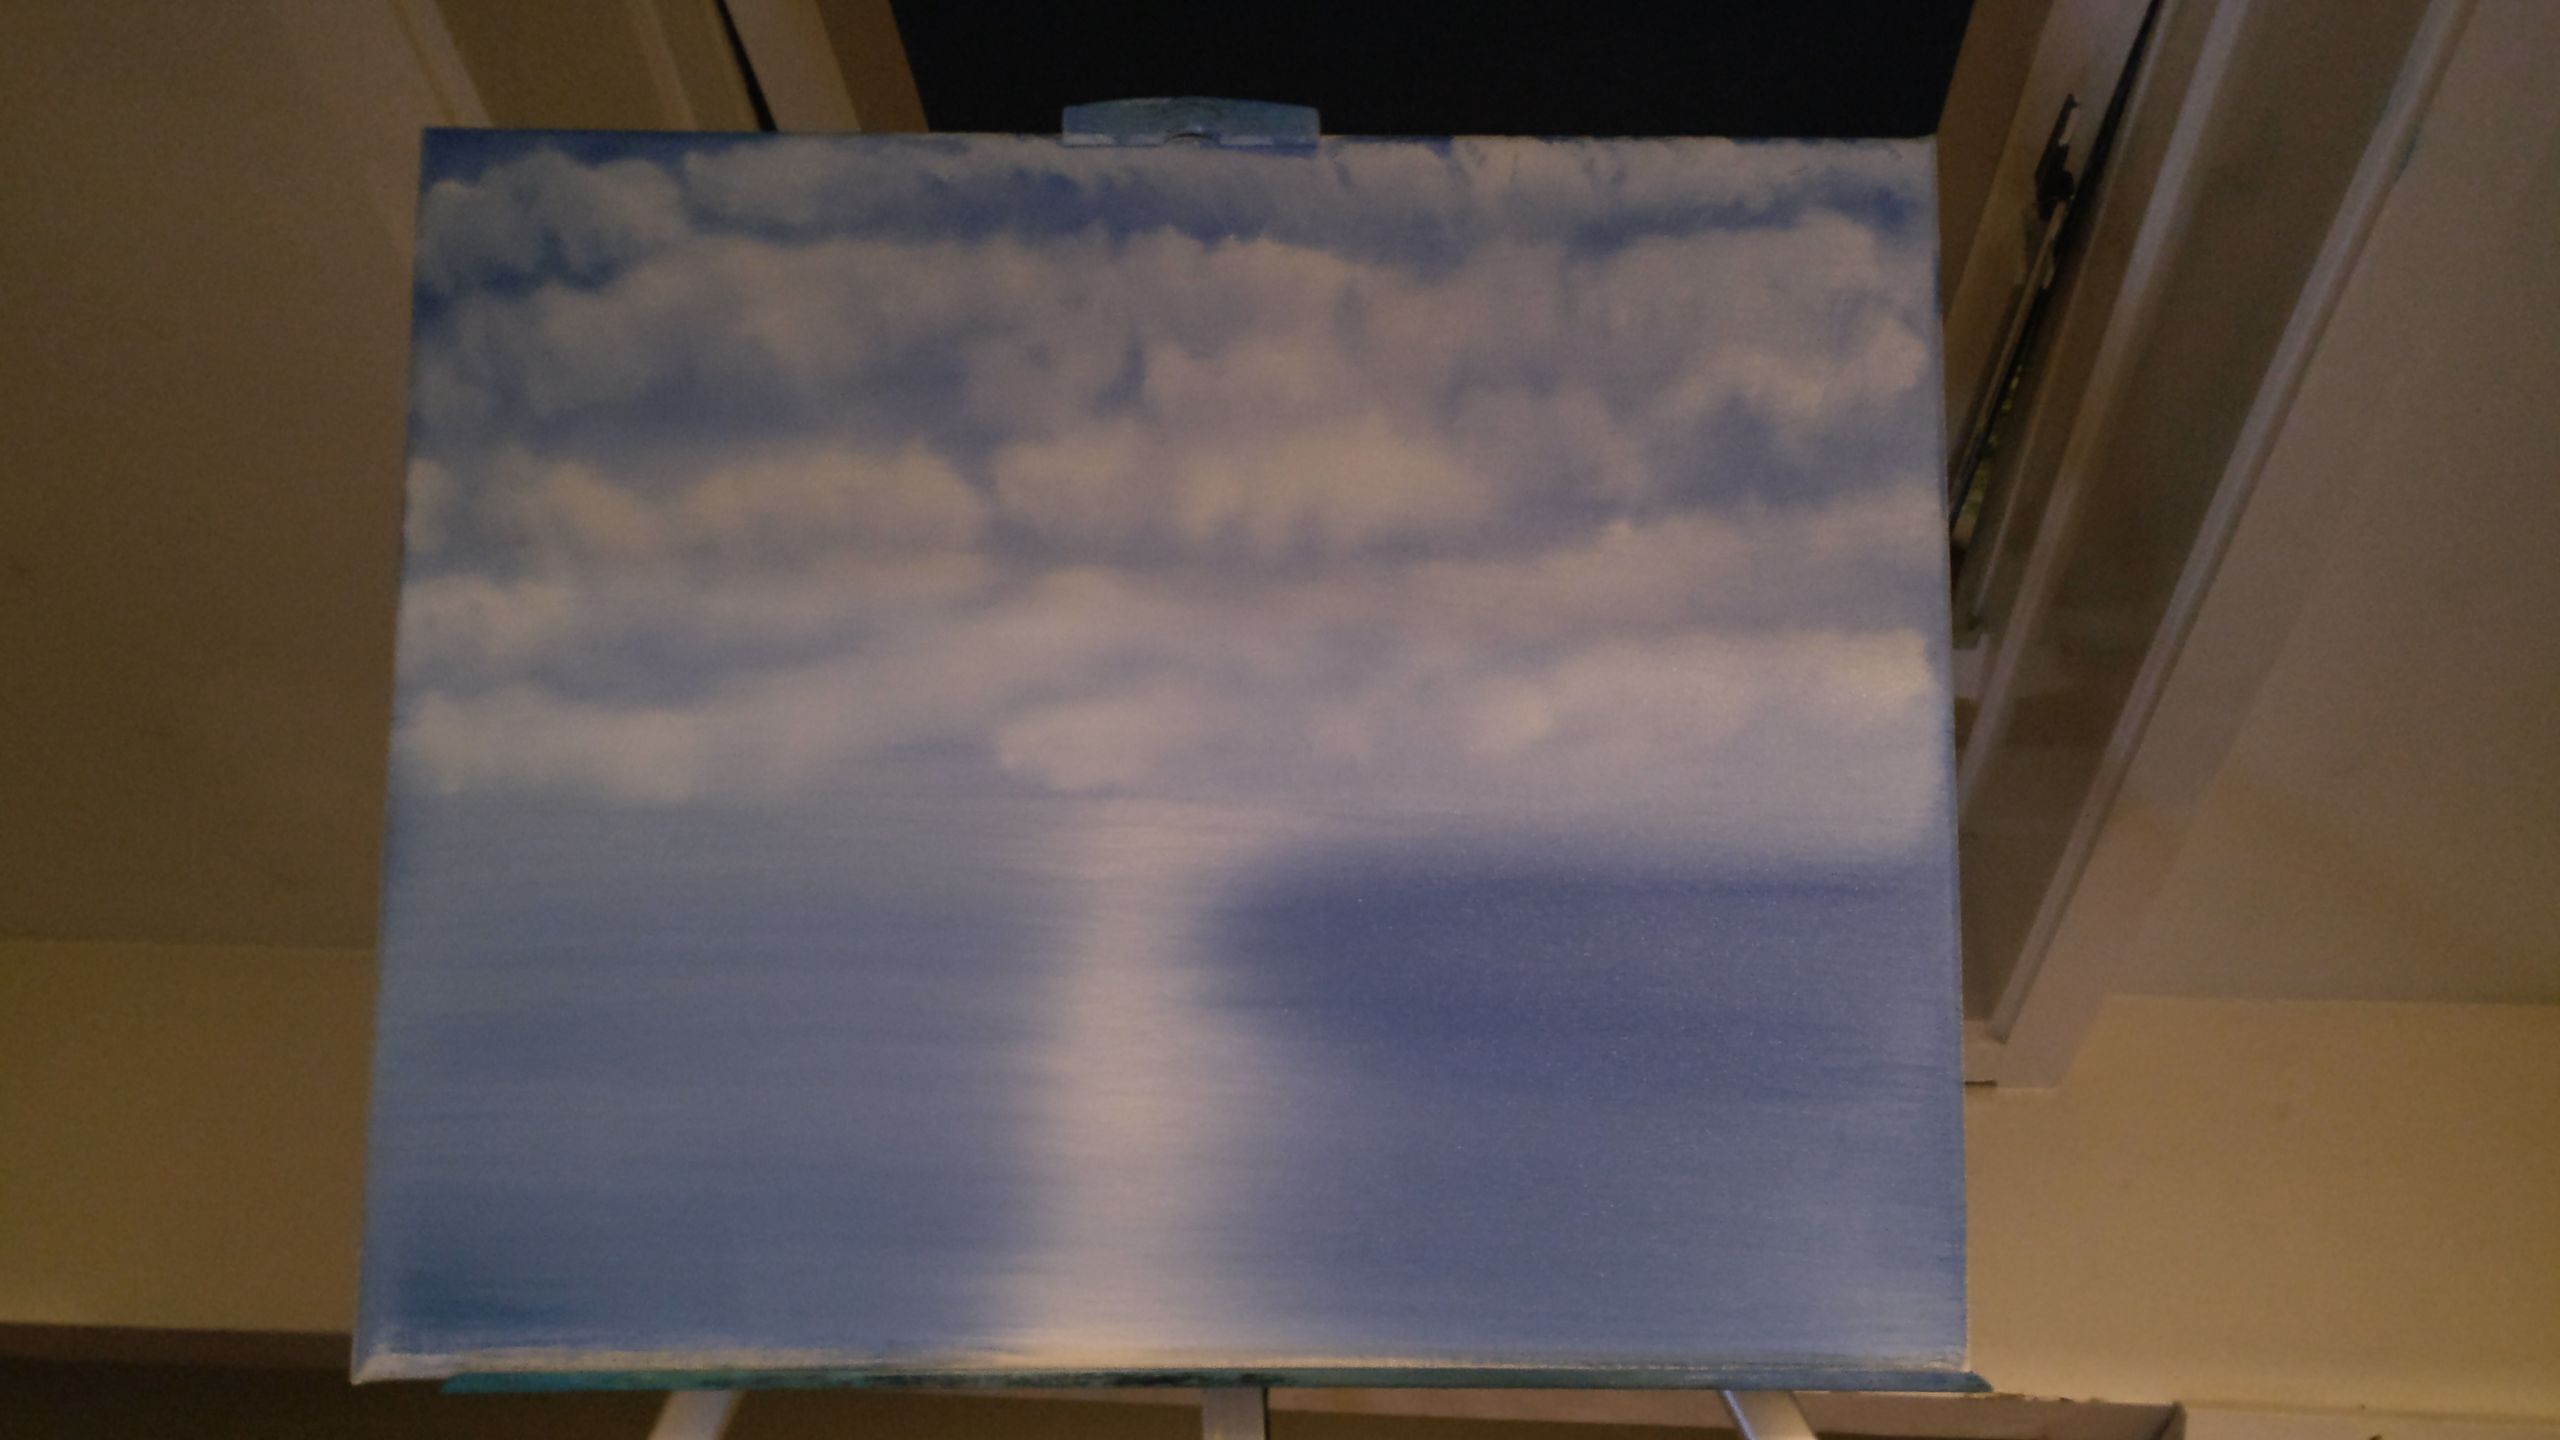
And what blending I actually tried to achieve.
So buy one, try it and buy more after you know which vendor suits your needs. I found suitable ones by Van der Linde in their store in Amsterdam.
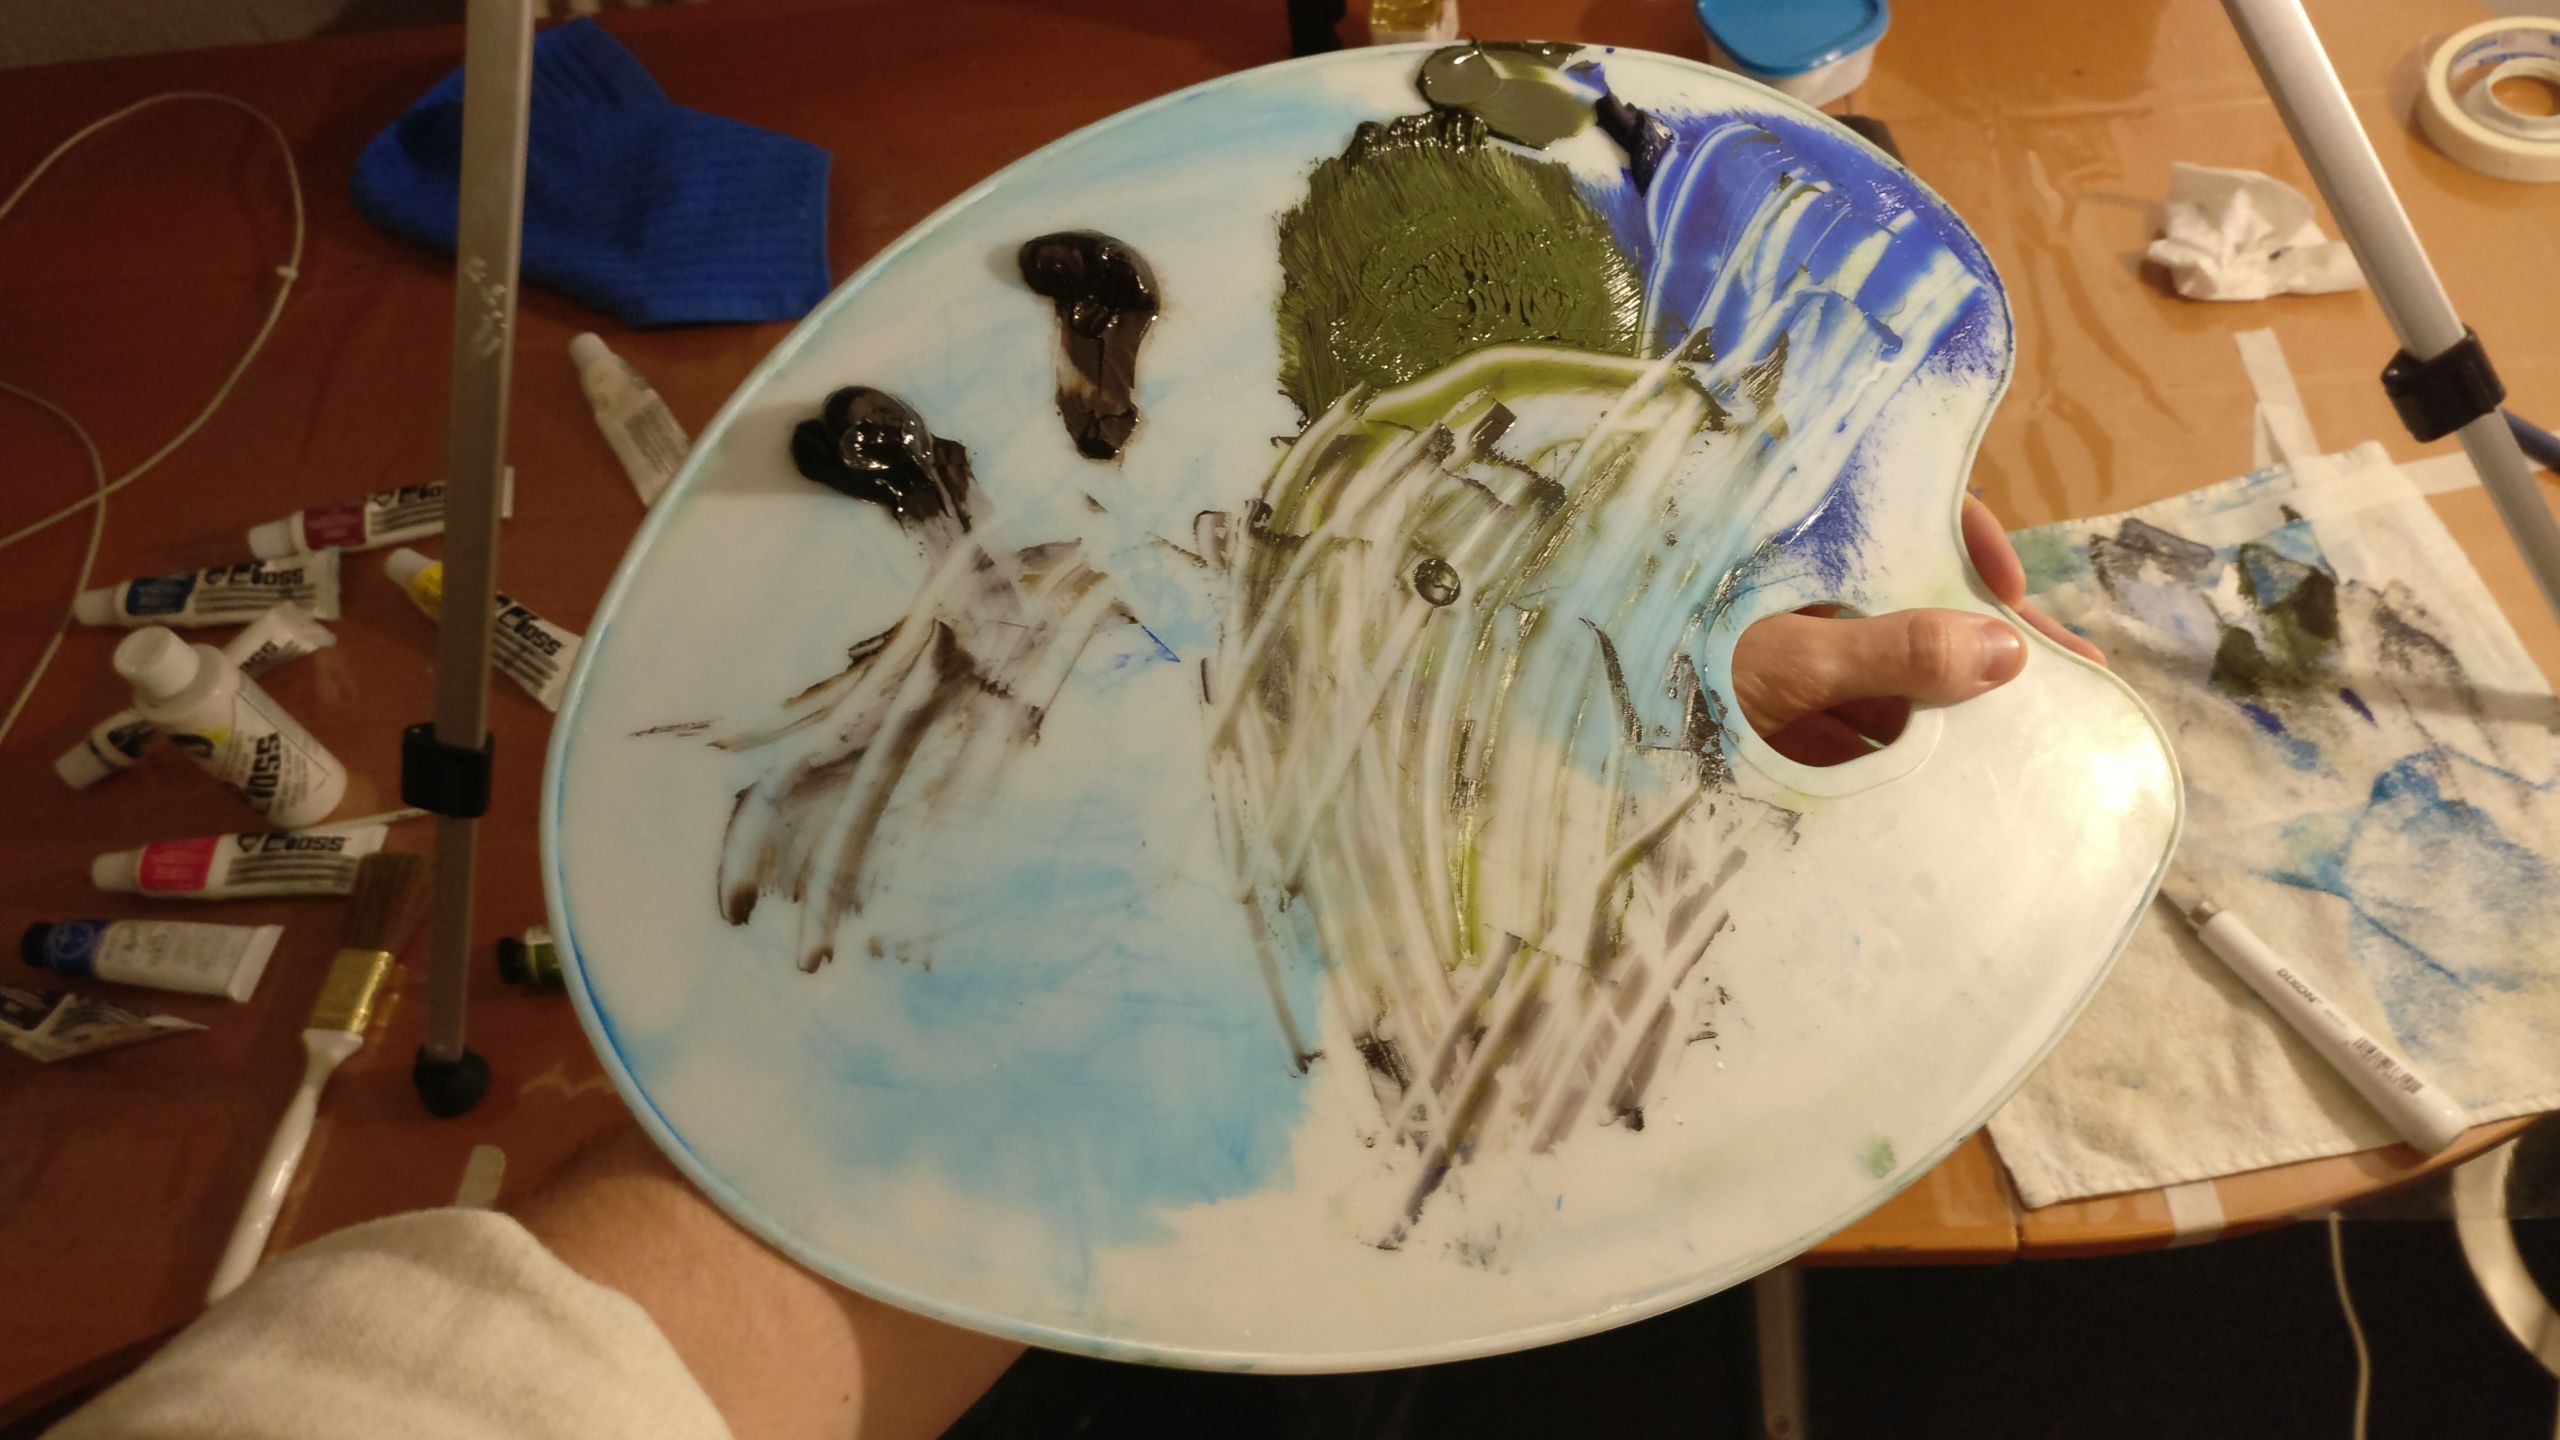
Palette.
You need really big one. The one I bought is 43x31 cm and it feels too small. I use another small palette to fit all colors. So you want something bigger. I bought plastic one and it’s not so good to work with knife on it because it bends and knife scratches the surface. I’ll hunt for acrylic glass one in near future.
Mine looks like:
Paint thinner.
You need one to wash you brushes as you progress through paining. Take at least 1 litre bottle. For me it lasted for 2 paintings then it became to muddy. And take odourless one. I made a mistake buying this one. Don’t buy it, it does not work as you would expect. I’m using this one now.
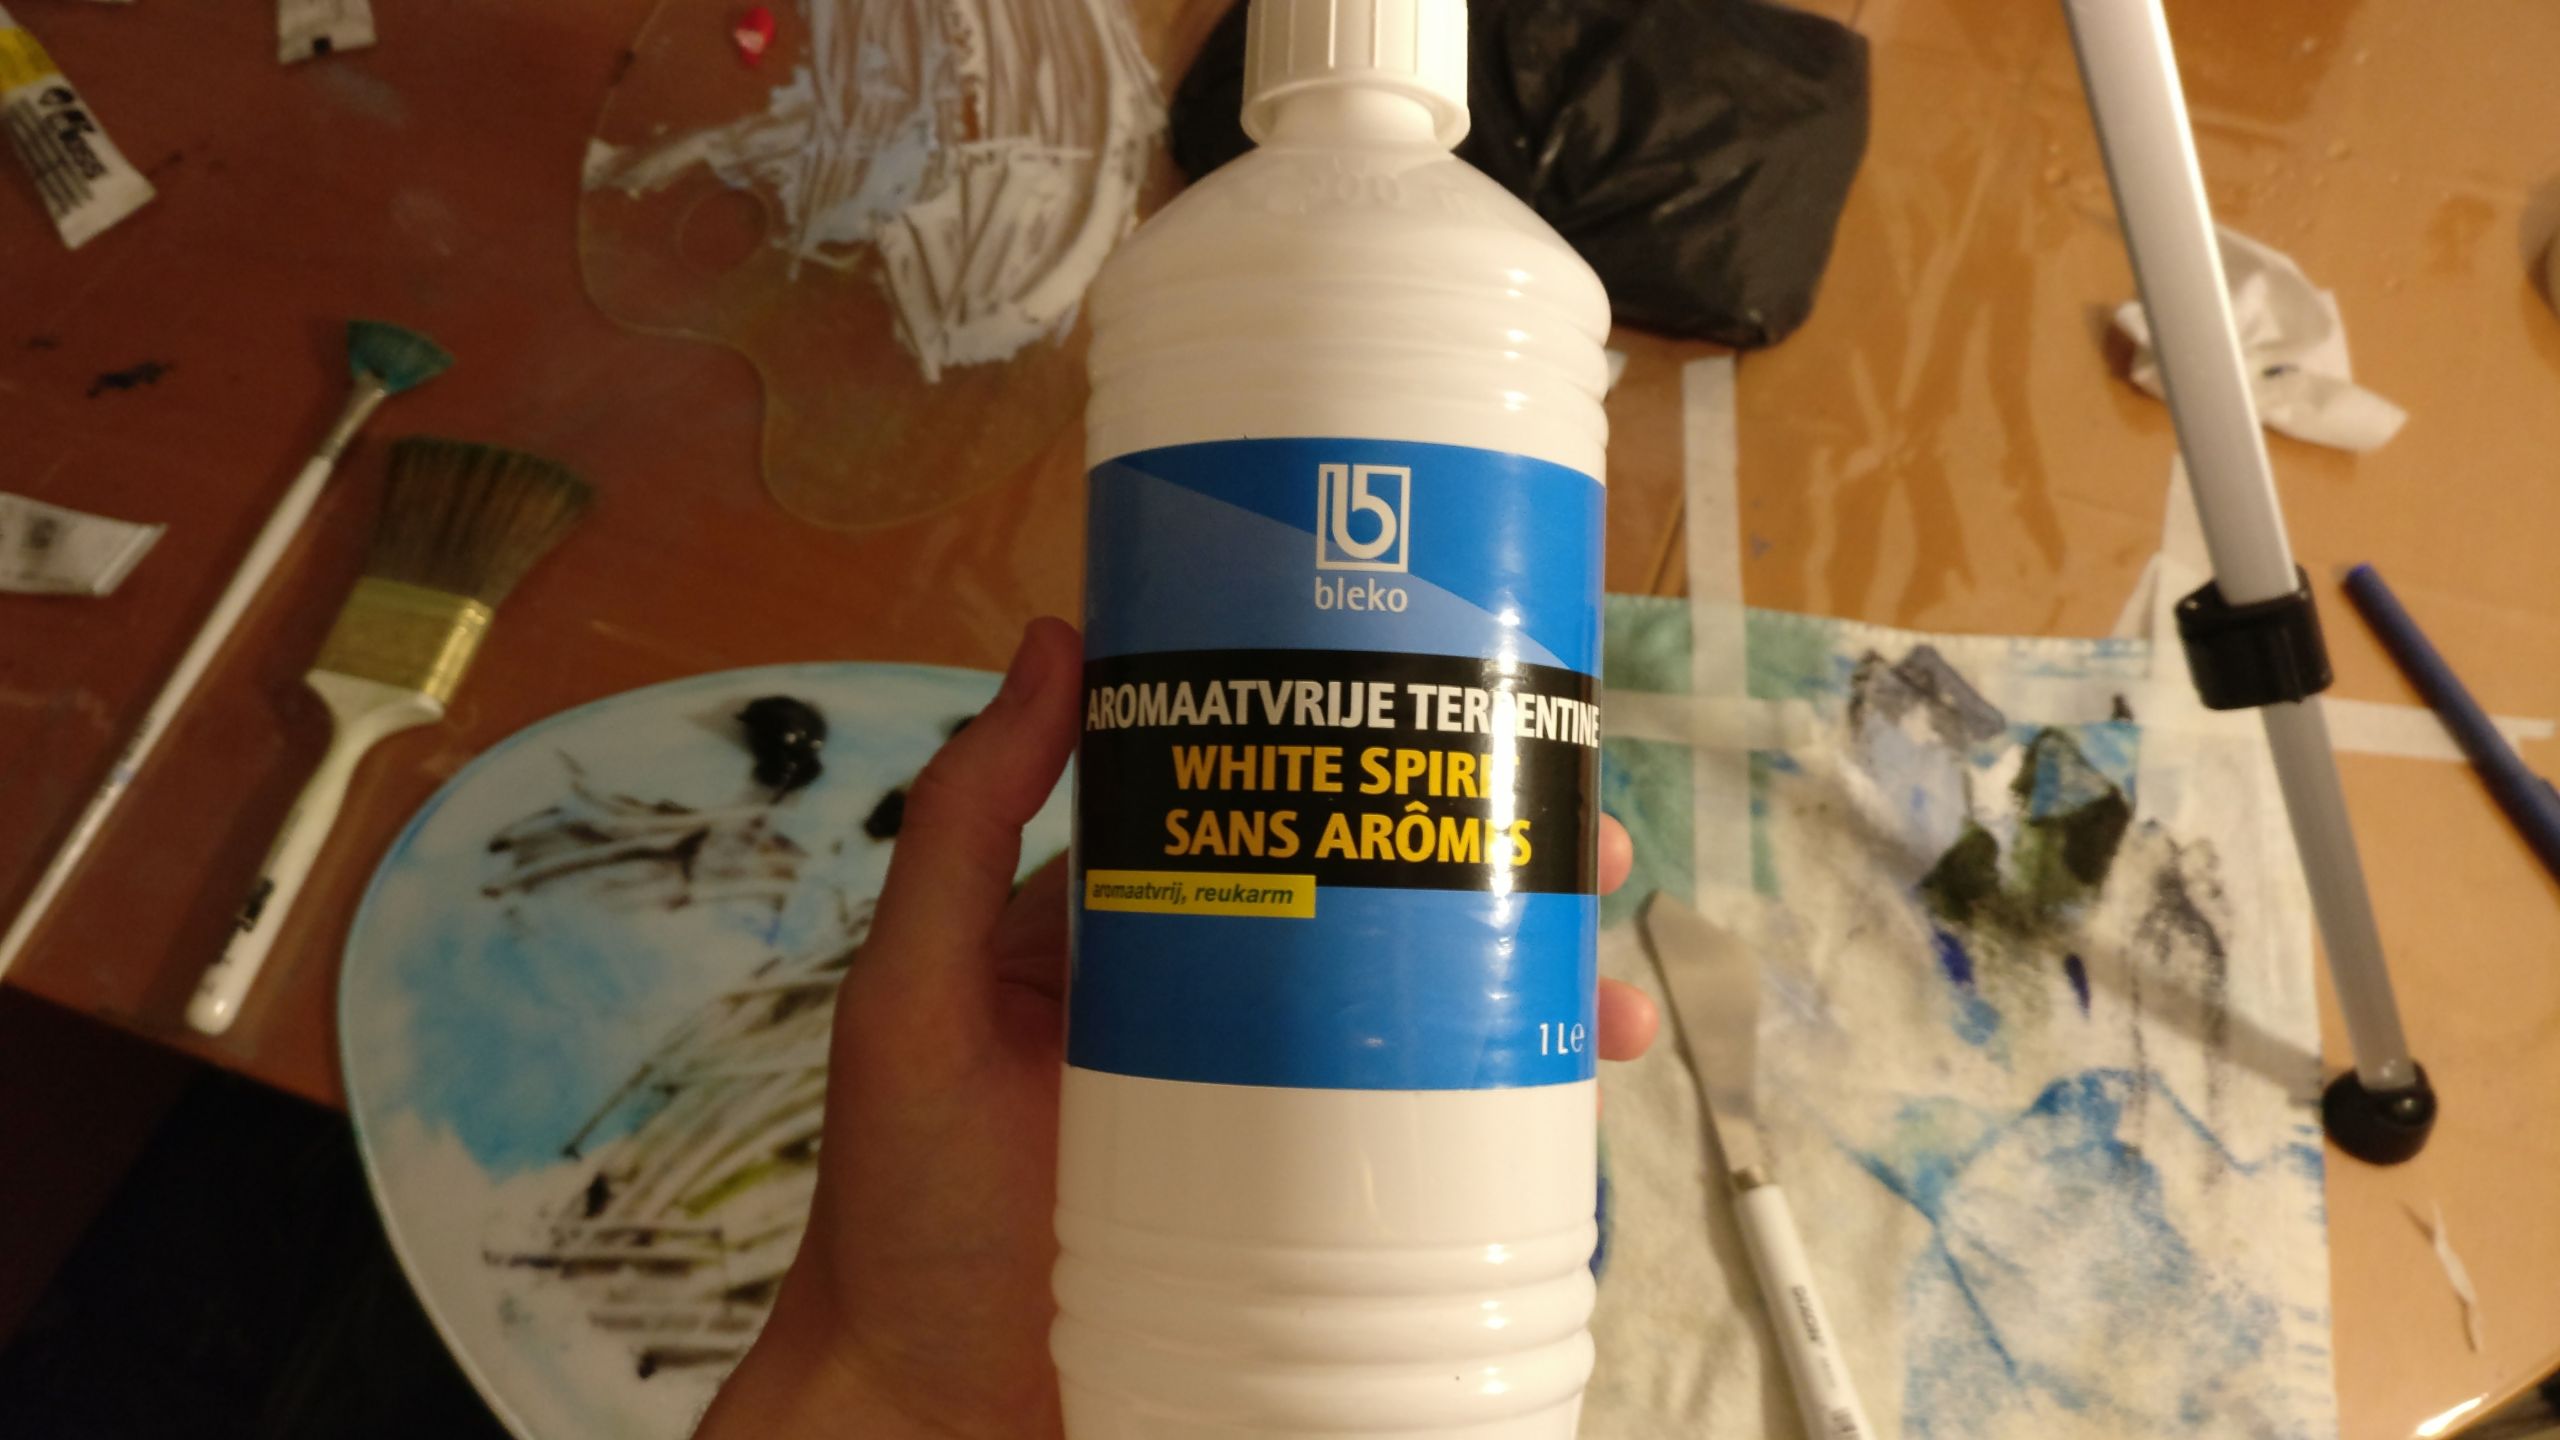
Get a bucket with lid (I did not find appropriate yet, using plastic one from paint store). Optionally buy cleaning screen to scrub brushes against it.
Theory
I watched about 15 hours of painting videos from seasons 1-2 plus random videos from next seasons. It gave me general idea how painting progress and what are elements of technique. Master paint set comes with 1 hour DVD which I found in digital version on the internet. I watched it 2 times and then worked on painting pausing video as progress. There is also a 3 hour instructions video somewhere on internet where Bob shows how to paint separate elements and ways to fix mistakes. I watched it before starting my first painting.
Learnings
- You need a place to rid off excess of paint thinner. I use bucket with garbage bag.
- It’s very easy to apply too much of liquid white to a canvas. You may scrub excess with palette knife. Too much liquid white will result in too much blending. My first clouds were too blended because of excess of liquid white.
- Think about ventilation in a room where you paint. It gonna smell paint thinner.
- Having a towel around is a good idea. You want to use it to wipe your knife.
- Be ready that paint will get on your cloth.
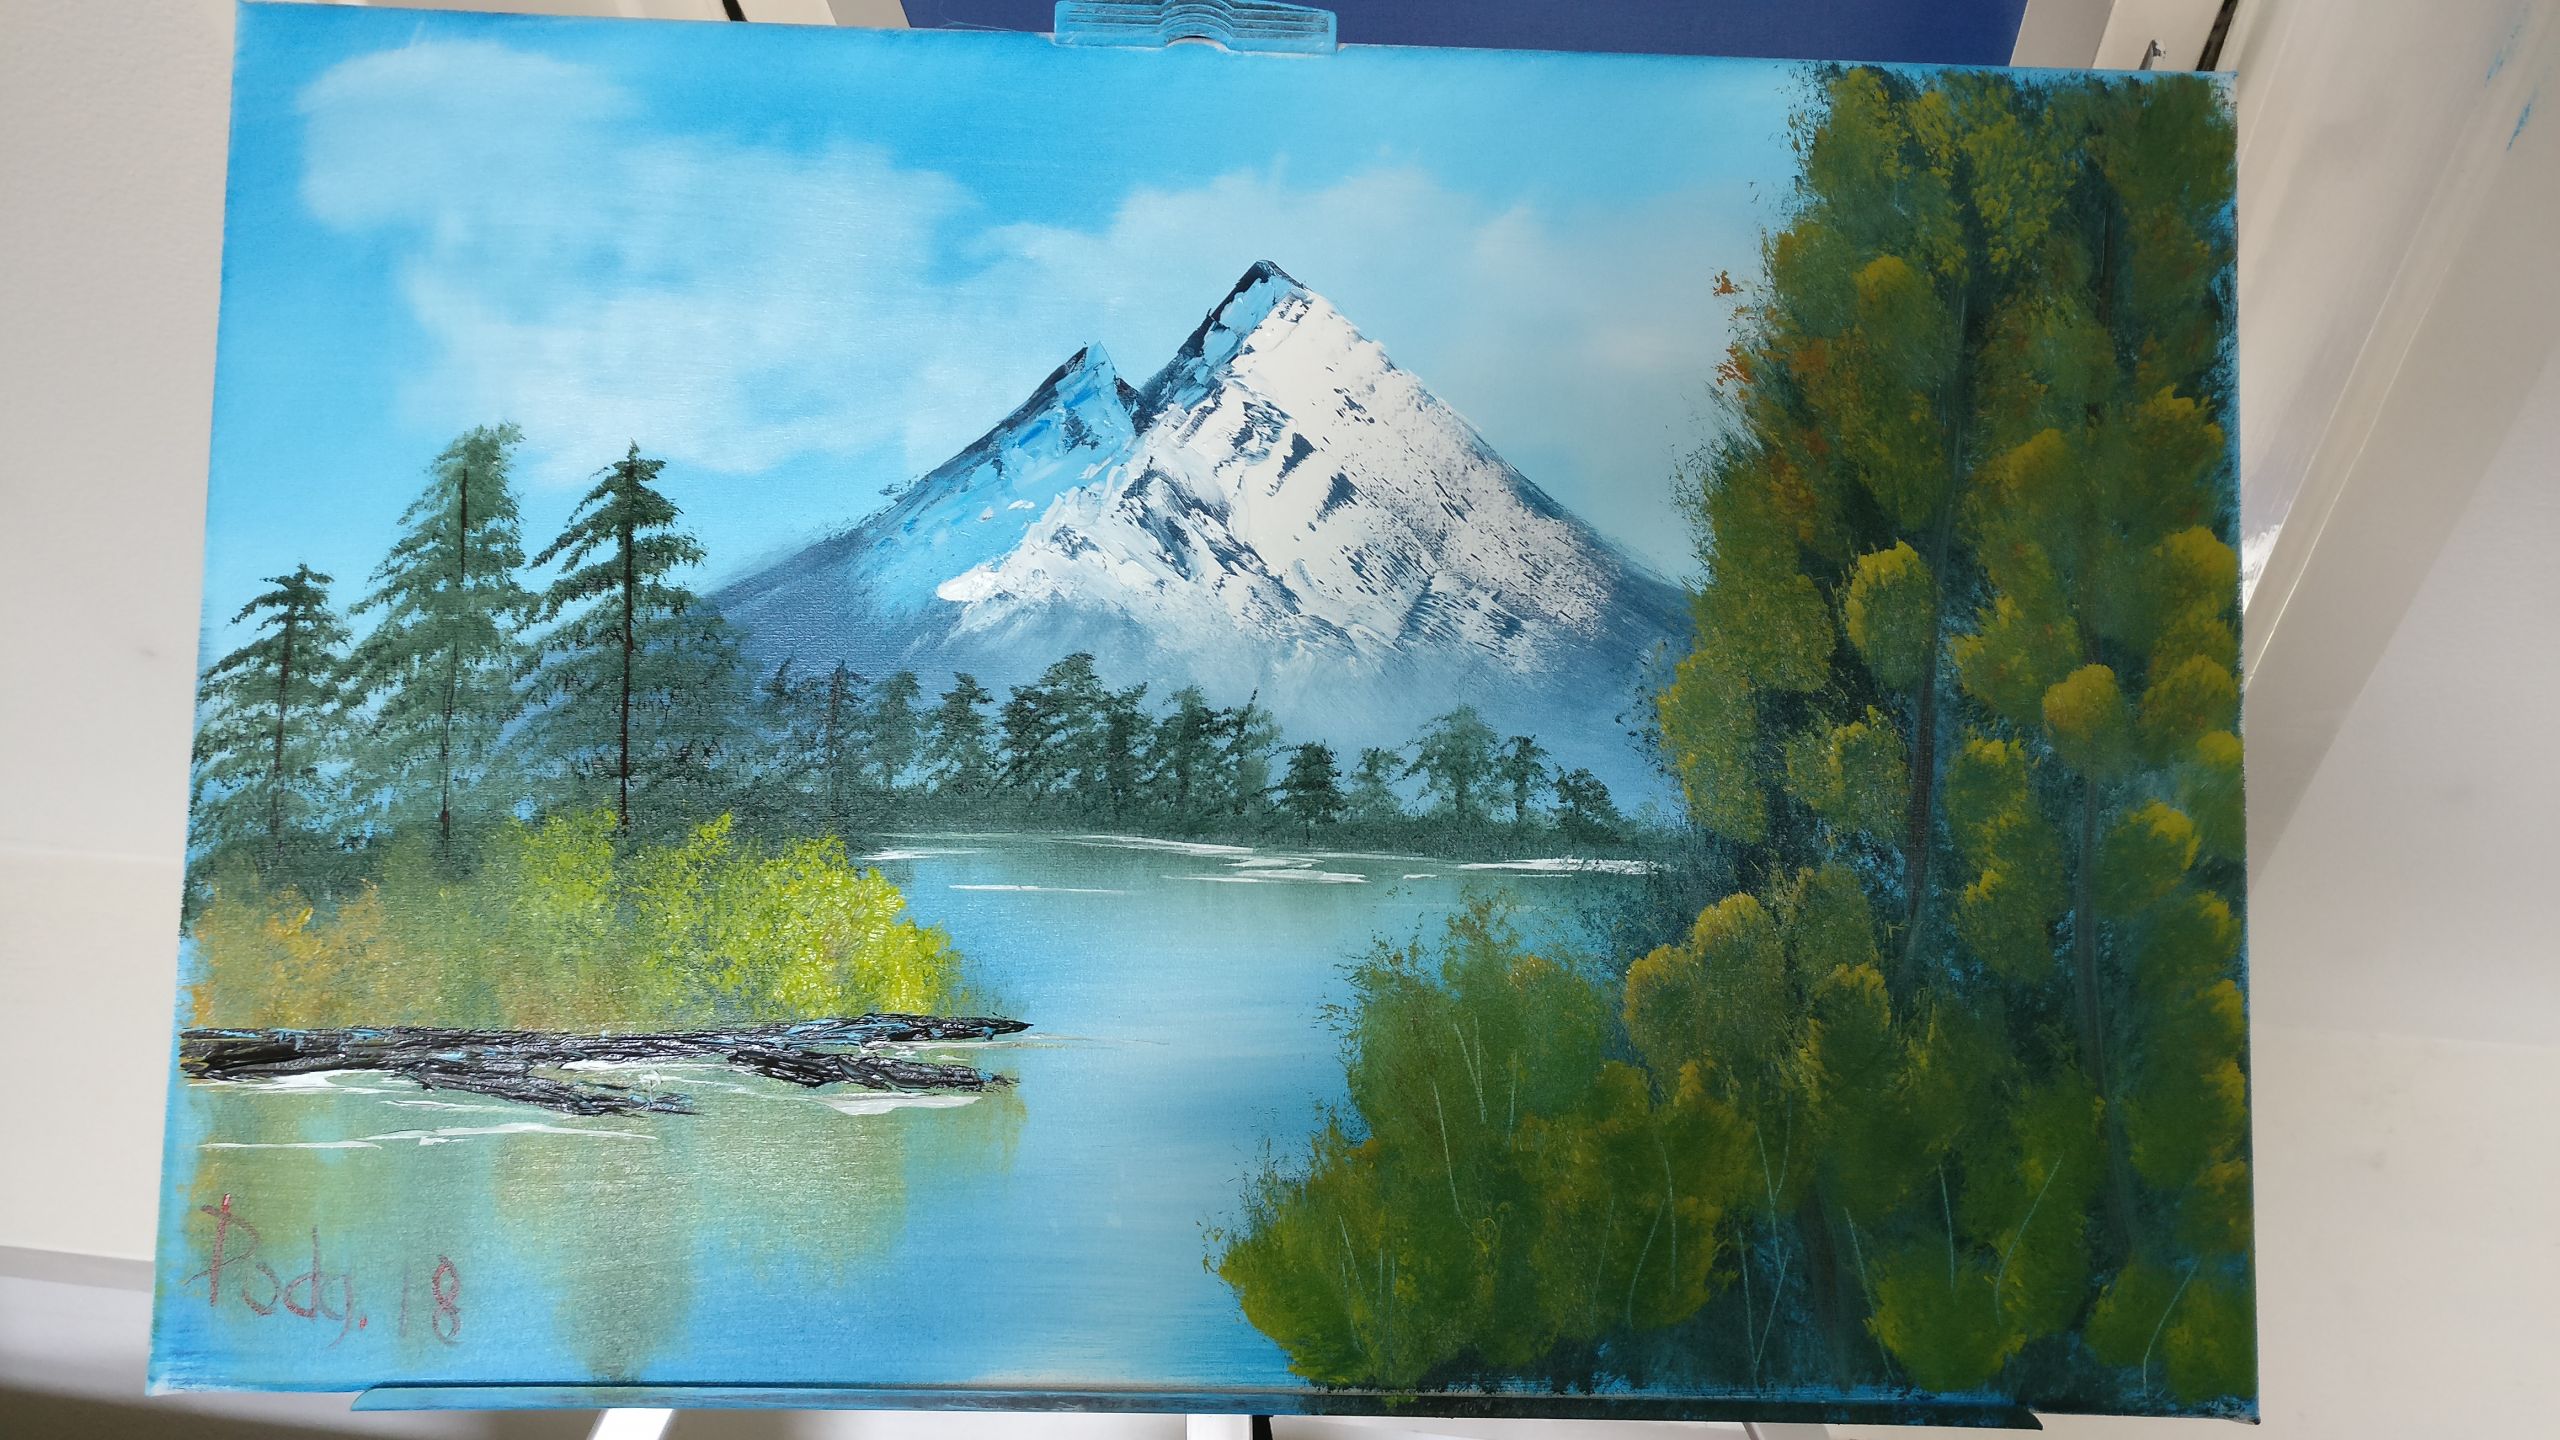
- It took me 2 hours to finish first paining.
- Be ready that you first session will fail because materials won’t fit. Or because you won’t be 100% prepares.
Hope that helps. Enjoy your painting.